We often make transgenic zebrafish lines by injecting a DNA construct that uses a Tol2 transposon vector, into eggs and raising them to adulthood. The efficiency of the Tol2 transposon-mediated transgenes is high. Germ line transmission of the injected DNA can be observed in about half of the injected fish.
Here I show an injection protocol that uses an injector and a manipulator.
Equipments you need
- Mating boxes. We use order-made ones, made of mouse cages. The bottom of the cage was cut off and a mesh was glued.
- Puller
- Injector
- Manipulator
- Injection pipette holder
Reagents you need
- 1% Agarose solution (to make a mold)
- Synthesized mRNA of Tol2 transposase (Keep i 2 uL aliquotes in each tube at -80 deg in a deep-freezer). Either you make it on your own or ask a lab technician for help.
- DNA construct that you made.
- 0.5% Phenol red
- 0.4 M KCl
- Water (RNase-free)
The day before injection
Set up crosses
In the evening of the day before injection, set up pairs of zebrafish. To control the timing of fertilization on the next morning, keep them separated in the mating box. The number of the pairs to be set up, varies depending on the fish condition. Usually I set up 4 to 6 pairs, a single pair in each tank.
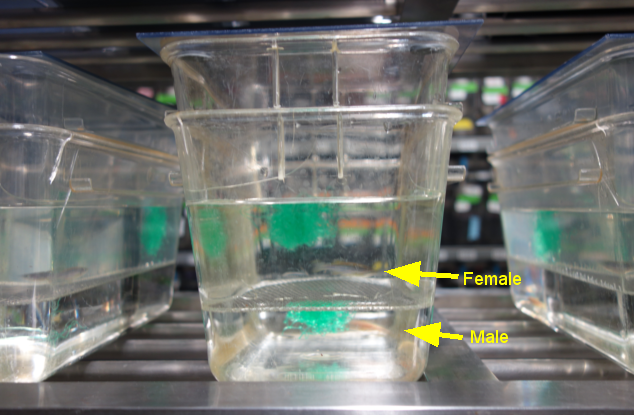
A male and a female separated by a mesh until the following morning
On the day of injection
Come to the lab at least 15 min earlier than the time of Light On in the fish room, to prepare a mold and the injectate.
Making a mold to hold eggs during injection
Microwave 1% agarose solution to the boiling point. Never forget to loosen the cap of the bottle before starting microwave. Otherwise, inside the bottle will become high-pressure and high temperature, which may make you get burned.
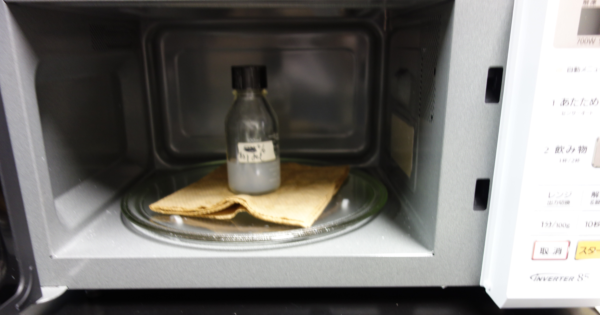
A bottle of 1% agarose stock solution in a microwave, with the cap loosened
Pour the agarose into a lid of 6 cm dish, and put a glass onto the surface of the agarose. Leave it until it solidifes.
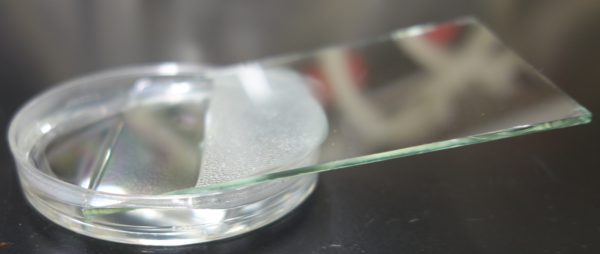
Making of a mold to hold the eggs during injection
Preparation of the injectate
Mix the following
- 1uLof 250ng/ul plasmid DNA (e.g., UAS construct)
- 1uL of 250 ng/ul Tol2 transposae mRNA
- 1 uL of 0.5% Phenol red solution
- 4 uL of 0.4 M KCl
- 3 uL of Distilled water
We have lab stock for the water, Phenol red, and KCl, stored in -20 deg freezer. Lab stock of the transposase mRNA is kept in -80 deg deep-freezer.
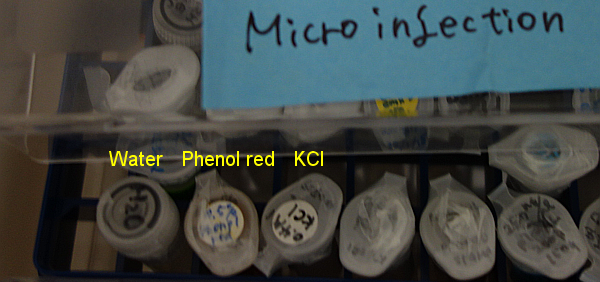
Reagents for injection stored in the freezer at -20 deg
After mixing the five solutions, spin down at 15,000 r.p.m for 5 min at 4 deg in a centrifuge.
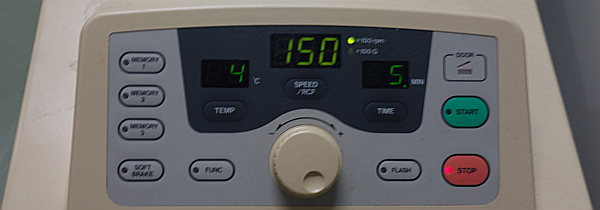
Centrifuge of the solution to avoid clogging in the injection pipette.
Take carefully 8 uL (of the 10 uL) from the upper part of the solution by a pipetman and transfer to a new tube. This is important to avoid clogging in the injection pipette.
Put the male and female together
As soon as the light in the fish room was turned on (automatically controlled), put the male and female together. If you set up several crosses, start with one or two tanks. Use other tanks when the male and female put together in the first tanks will not give any more eggs.

The male and the female fish put together in the upper compartment in the mating box
Zebrafish show a stereotyped courtship behavior. The male present himself to the female, often by circling around the female, and chase it.
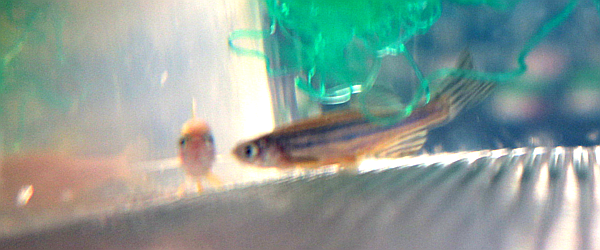
The male fish (right one) showing interest in the female fish (left one)
If the male does not show the chasing behavior,try another tank.
Making injection pipettes
Set a NARISHIGE GD-1 (or GC-1) capillary on a puller. GD-1 has a filament inside the capillary that help loaded solution spontaneously come up to the tip. I highly recommend to use GD-1 instead of GC-1.
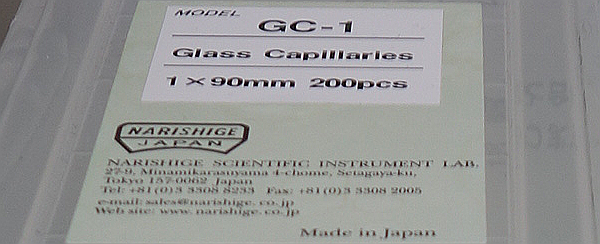
Glass capillaries used to make injection pipettes (This picture shows GC-1 but I recommend GD-1 for much easier loading of the solution.)
Use two-step pulling. For the heater, you need to figure out the best parameters. Choosing the right parameters are critical to obtain desired shape of the pipette tip.
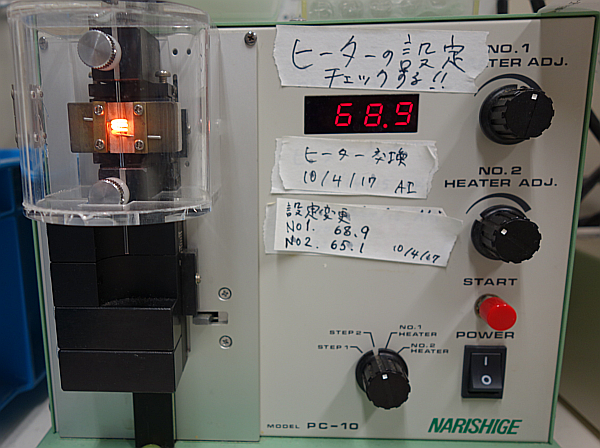
A puller to make injection pipettes
Here is the shape that I like. With this pipette, injection can be a enjoyable time.
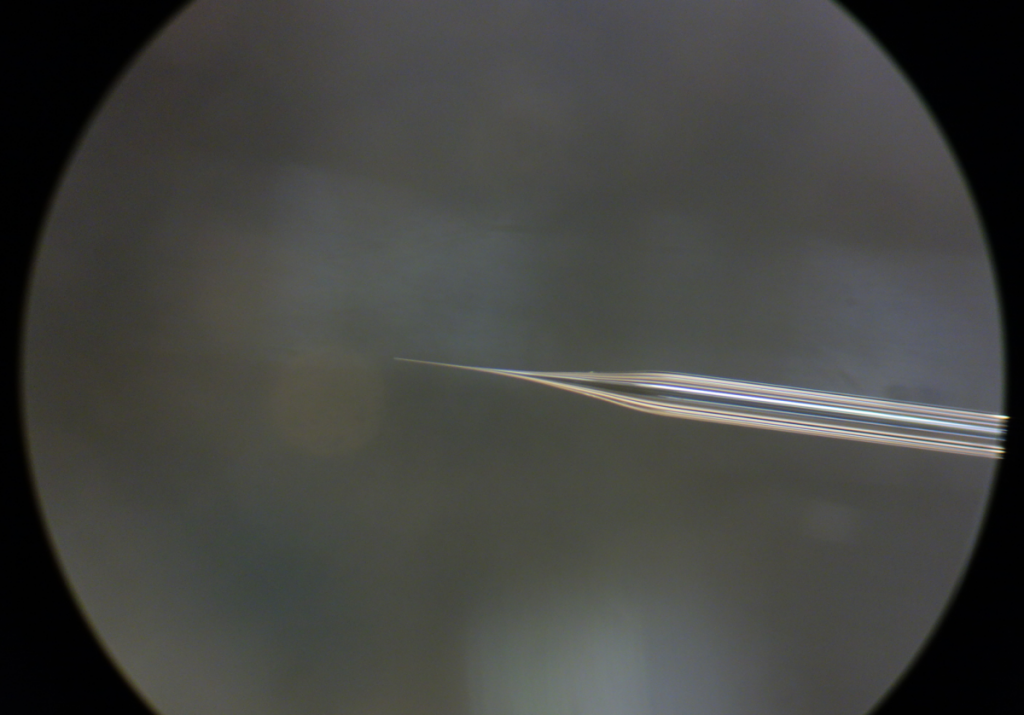
Shape of the injection pipette used in ‘injection through yolk’
Load the 2 uL of the injectate into the injection pipette (inserting from the back, going through to the very end of the tip) using a pipetman and a loading tip. If it is difficult to insert the tip into the capillary, you can easily do it under the stereoscope.
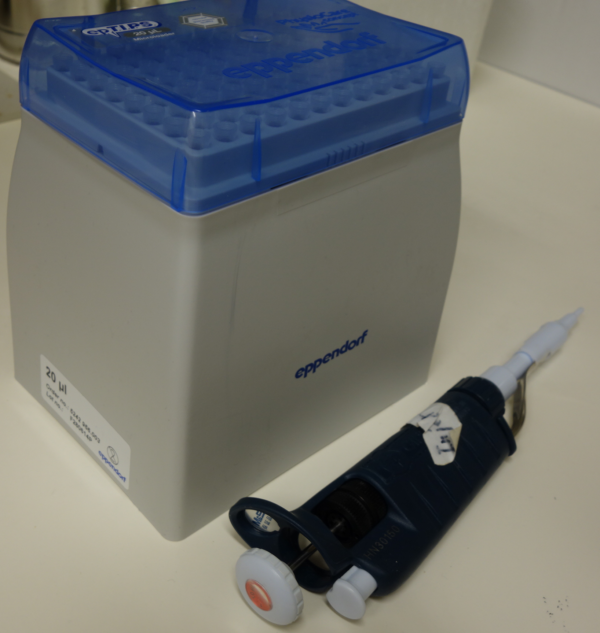
Loading tips and a pipetman
Now the injection pipete is loaded with the injectate. Set the injection pipette on the injector.
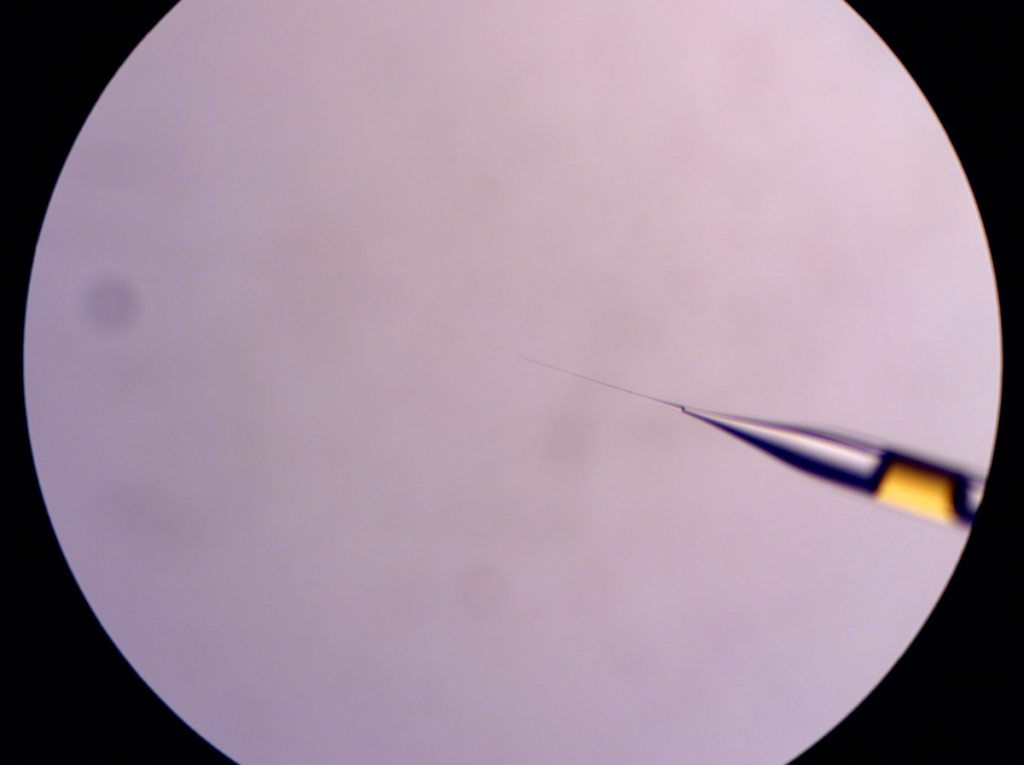
Injection pipette filled with the injection solution (GC-1 capillary. Not a very good example because there is a huge air. This won’t happen if you use GD-1 capillary that has a filament inside.)
With forceps, break the very tip of the injection pipette and “inject” to see if the solution will come out (that will make a small droplet at the tip). If it does not, keep breaking and/or increase the injection pressure and injection time. The loaded solution will come up to the end after a while.
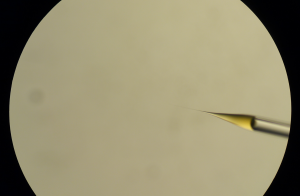
Injection solution at the tip after pushing out the air
Adjust the height and the angle of the injection holder so that the tip of the pipette will not hit the lid when you drag the lid.
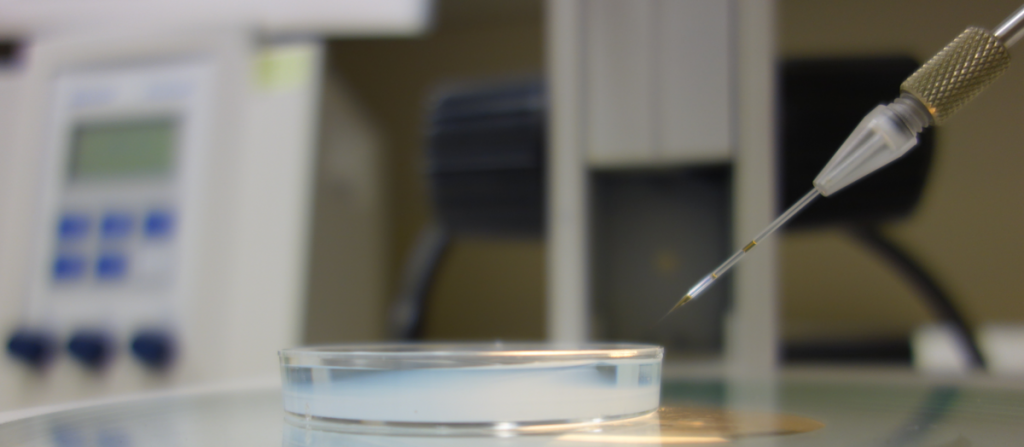
Injection pipette positioned just above the top of the dish to minimize the chance of an accidental breaking of the pipette
Collect the eggs with a cup of mesh, rinse the eggs, then transfer them to the mold. Remove the excess water from the mold so that the eggs are held in the edge by the surface tension force of the water. Using forceps or a needle, orient the egg that are to be injected in an appropriate position.
Insert the injection pipette through the yolk moving to the cytoplasm by handling the manipulator,
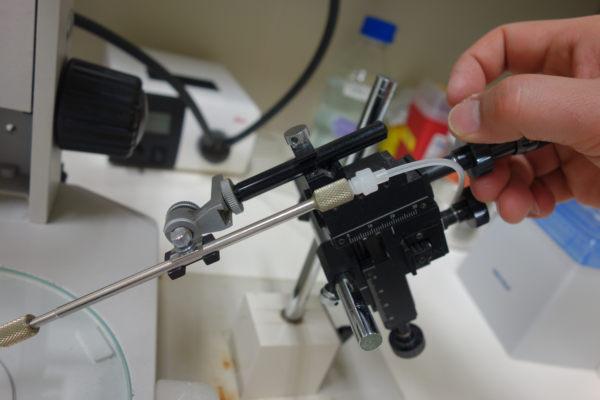
Manipulation of the injection pipette: turning the nob in the clock-wise direction moves the pipette holder toward the egg
and then ‘inject’. At early 1-cell stage, you will see a drop in the cytoplasms that came out of the injection pipette. When injected in later stages, the boundary of the drop is somehow not clear. Just fertilized eggs show no obvious cytoplasmic region at first. In that case, allow 5 or 10 min, then cytoplasm region will become apparent. Inject a volume that occupies, roughly speaking, 1/4 to 1/3 of the cytoplasmic area. For transgenesis, we do not have to care about the the actual amount of the injectate.
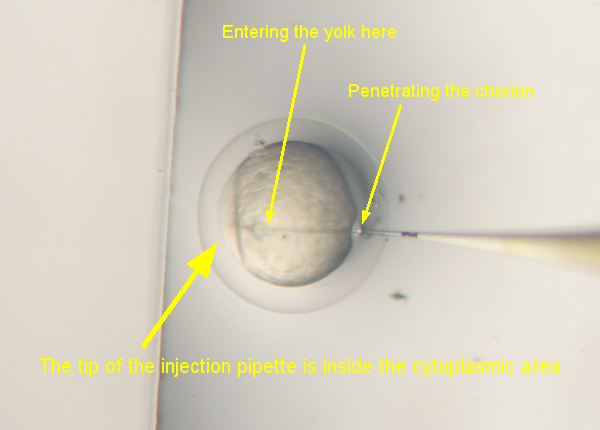
Injection pipette inserted into the cytoplasm through yolk
When the injection pipette go through the yolk, the egg will rotate by some angle. This should be taken into account when you orient the egg for injection (i.e., orient in more upright position than shown in the above picture)
Some people prefer to introduce the pipette through the cytoplasmic side (as illustrated in this website), which I don’t like because some of the the injected solution come out from the broken membrane. I like to insert in the yolk going through to the cytoplasm and inject. There is no leakage of the injected solution from the broken membrane.
It is common that less amount will come out the tip along the course of injection task. In that case, adjust (increase) the time and the pressure of the injector.
Typically, about 200 eggs may be injected in the morning (about 2 hours) if everything goes well.
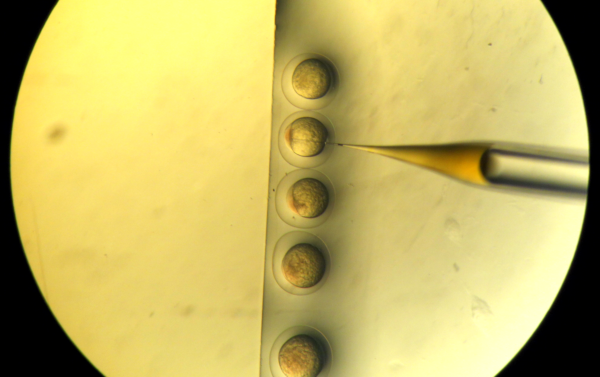
Zebrafish eggs being injected at 1-cell stage: with a minimal amount of E3 water, the surface tension helps the eggs to keep their position when the injection pipette is pulled out.
Some will die on the day of the injection. Some embryos will die on the next day. Check the injected eggs and remove the dead ones and larvae with apparent developmental defects.
Notes
- For an enjoyable injection experiment, the shape of the injection pipette is most critical. Spend enough time to determine the pulling/heating condition for the desired shape.
- For the efficient injection, having enough eggs is critical. It is frustrating if the fish do not lay eggs while injection setting is ready. Daily care of the fish is important and extra feeding starting a couple of days before setting up crosses may help.
- Some people may prefer to prepare the mold beforehand. It can be wrapped and kept in the fridge for a couple of days.
- Some people don’t use the injector and hold the pipette in hand. This is advantageous for the efficiency of injection because you can orient the egg with the injection pipette itself. For this, the shape of the injection pipette should be a bit thicker in the tip to give the strength.
- Efficiency of transgenesis withTol2 transposon vector is high. Usually, I find about half of the injected fish (raised to adulthood) show germ-line transmission.
- Some people prefer to inject manually (no injector or manipulator is required, the injection pipette holder is connected to a syringe to push in by hand). I tried this manual method once but it did not work for me (all injected eggs died after injection because of trembling hand).
- Most efficient injection uses an injector but hold the pipette by hand. The pipette is also used to orient eggs before injection. Because the limiting step is orienting the eggs, this method saves a lot of time.